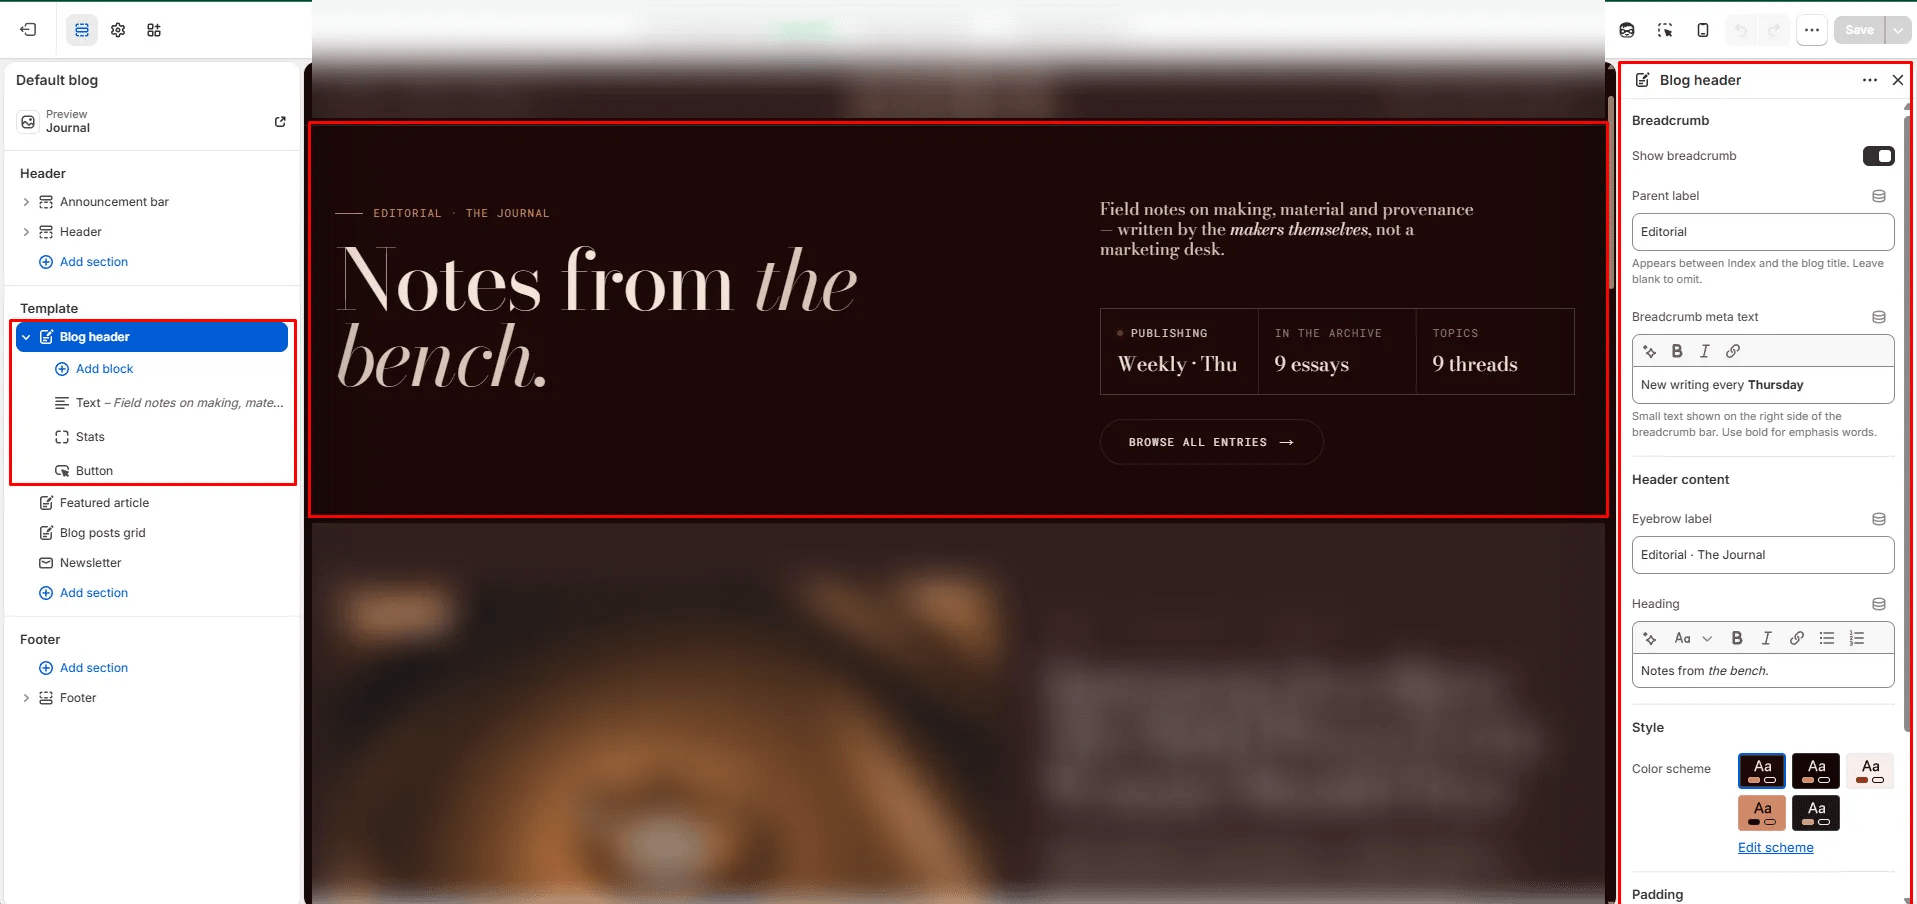
How to Add the Section
- From your Shopify admin, go to Online Store → Themes and click Customize.
- Navigate to your Blog template page.
- Click Add section and select Blog header.
- Add optional blocks (Text, Stats, Button) to build the right column.
- Click Save.
Section Settings
Breadcrumb
- Show breadcrumb: Toggle to show or hide the breadcrumb navigation above the heading.
- Breadcrumb parent: The label displayed between “Index” and the blog title in the breadcrumb (e.g., “Editorial”).
- Breadcrumb meta: Secondary descriptive text on the right side of the breadcrumb row. Supports inline rich text (e.g., “New writing every Thursday”).
Content
- Eyebrow: Small text displayed above the main heading.
- Heading: The main masthead heading. Supports rich text and italic emphasis.
Style
- Color scheme: Choose a color scheme for the section.
Spacing
- Padding top / Padding bottom: Control the vertical spacing around the section.
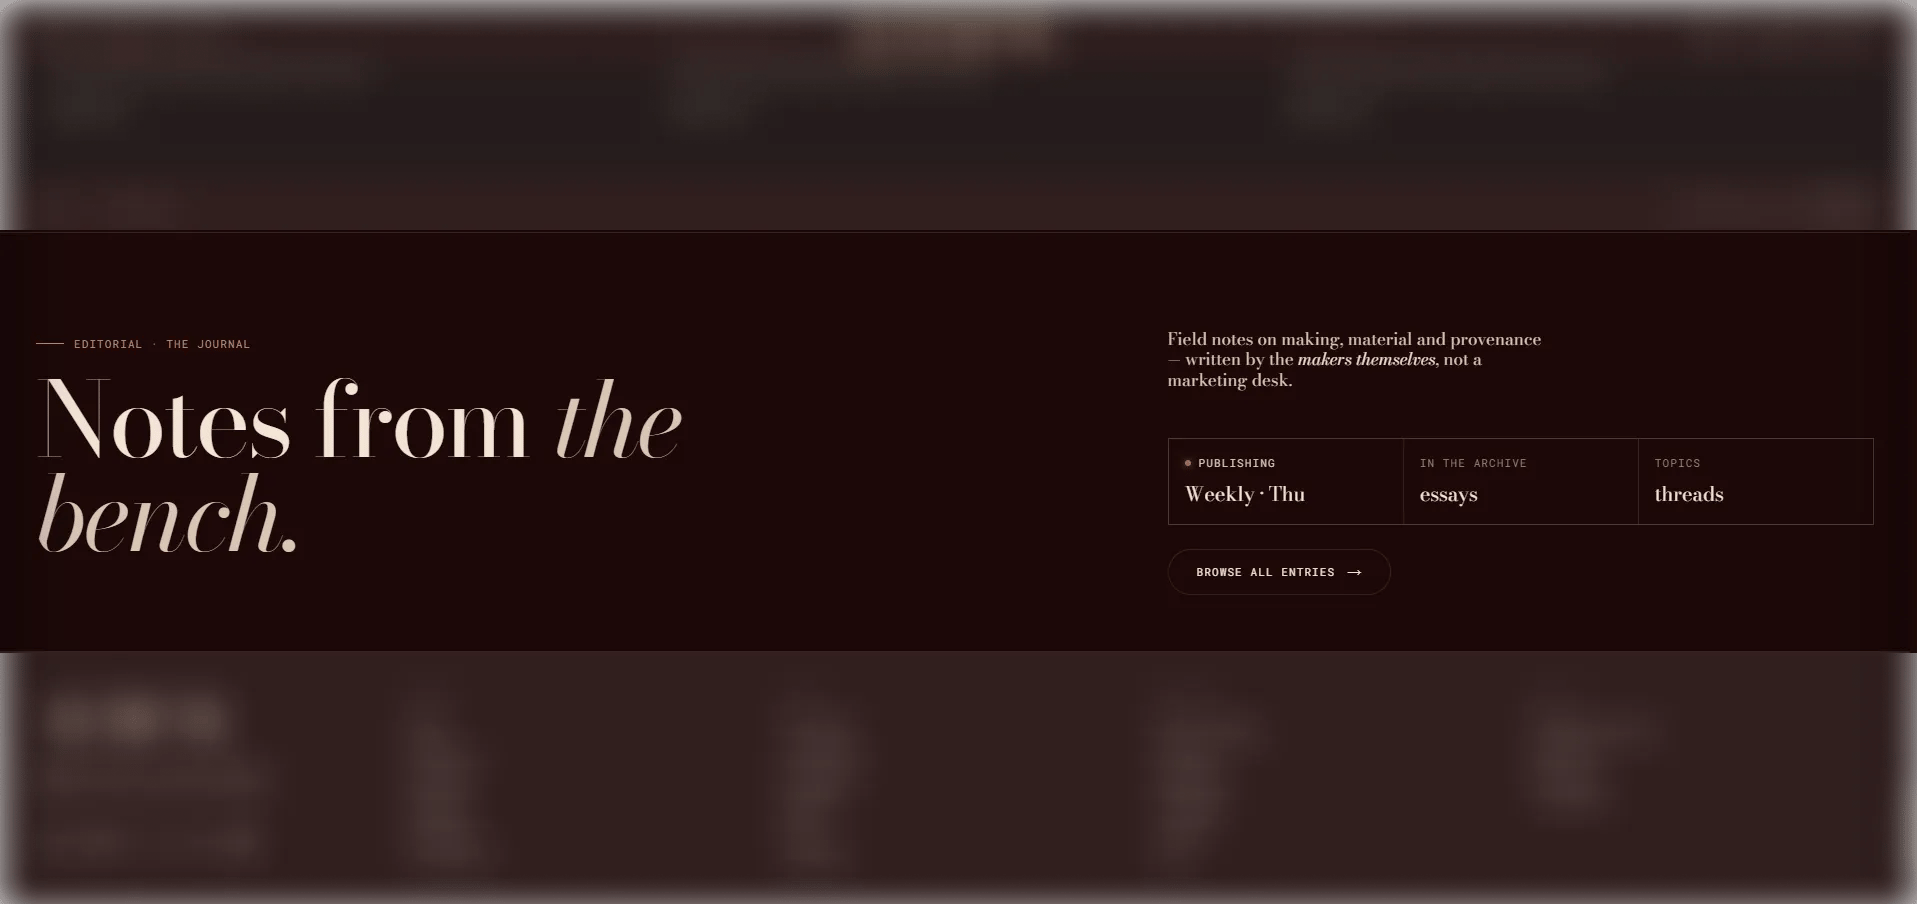
Heading Block Settings (limit 1)
A compact heading label displayed in the right column of the masthead.- Heading: The text label to display (e.g., “Editorial · The Journal”).
Text Block Settings (limit 1)
A rich body text block in the right column.- Text: Rich text content for the right column (e.g., a short editorial statement or description).
Stats Block Settings (limit 1)
A three-cell stat grid displayed in the right column, optionally with a live indicator dot.- Show live dot: Toggle to display an animated live dot — ideal for communicating that the blog is actively publishing.
- Stat 1 label / value: Label and value for the first stat cell (e.g., “Publishing / Weekly · Thu”).
- Stat 2 label: Label for the second stat cell.
- Stat 2 dynamic: Set to Article count to automatically pull the live number of published articles, or None to use custom text.
- Stat 2 value: Custom value used only when the source is set to None.
- Stat 3 label: Label for the third stat cell.
- Stat 3 dynamic: Set to Tag count to automatically pull the total number of tags, or None for custom text.
- Stat 3 value: Custom value used only when the source is set to None.
Button Block Settings (limit 1)
A CTA link displayed in the right column.- Label: The button text.
- URL: The link destination. Leave blank to automatically link to the current blog’s listing page.