How to Add the Section
- From your Shopify admin, go to Online Store → Themes and click Customize.
- Navigate to the page where you want to add this section.
- Click Add section and select Blog posts.
- Select a blog and configure the display options. Optionally, add Article card blocks to pin specific posts.
- Click Save.
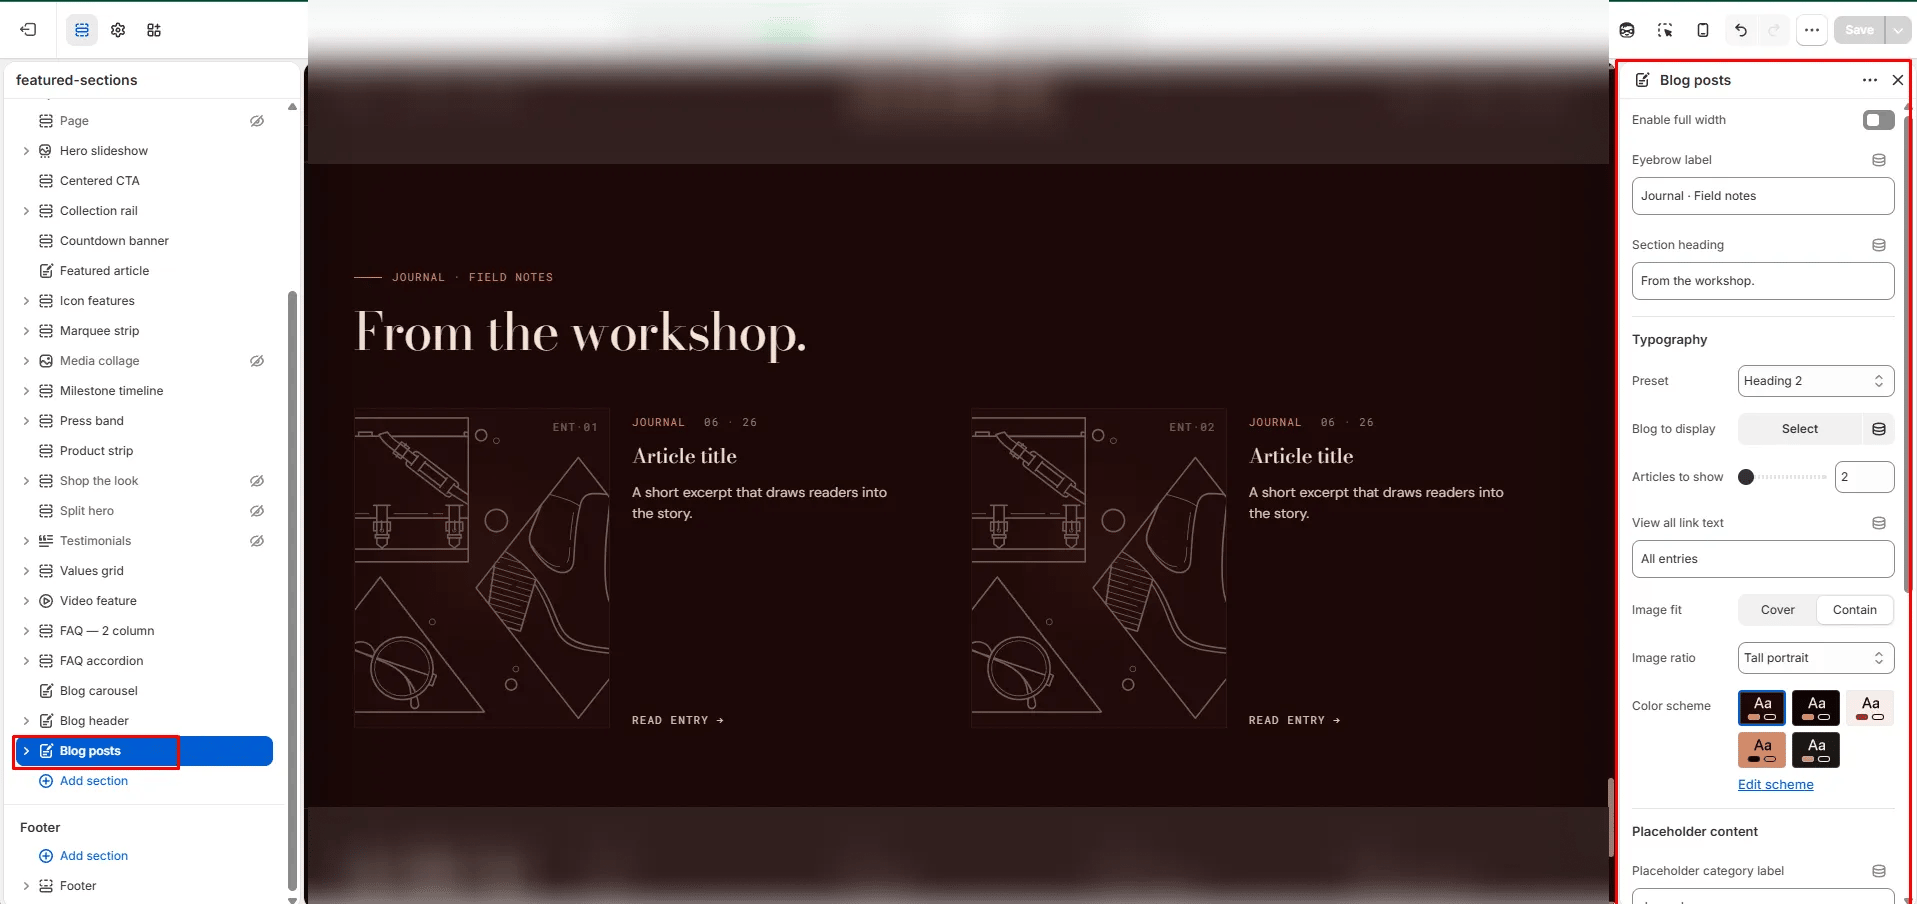
Section Settings
Content
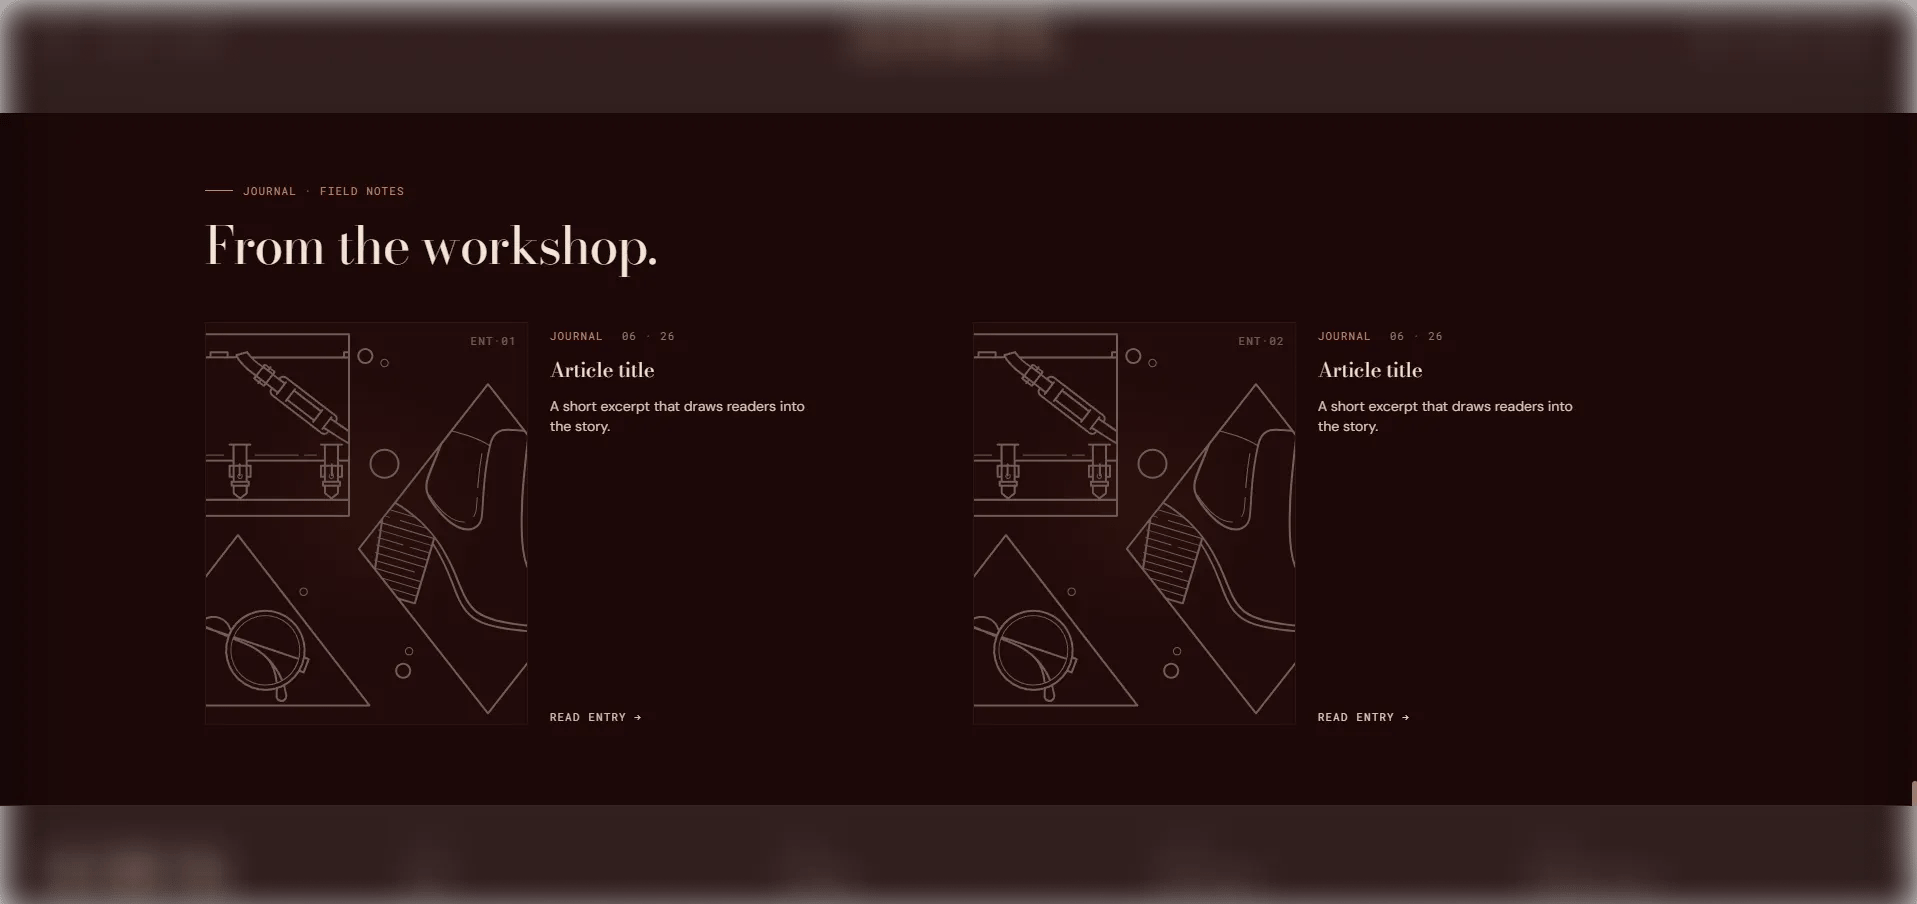
- Eyebrow: Small label displayed above the heading.
- Heading: Main section heading.
- Heading typography: Select the typographic style for the heading.
- View all label: Text for the “view all” link displayed at the bottom of the section.
Source
- Blog: Select the blog to pull articles from automatically.
- Articles to show: Number of articles to display in the grid (range: 2–6).
Display
- Full width: When enabled, the section stretches edge-to-edge.
- Image fit: Controls how article images fill their card — Cover fills and crops to the ratio, Contain shows the full image with no cropping.
- Image ratio: Aspect ratio for article card images — Portrait, Tall portrait, Square, Landscape, or Adapt.
Placeholder Content (editor only)
- Placeholder category / title / excerpt: Fallback text shown in the theme editor when no blog is selected.
Style
- Color scheme: Choose a color scheme for the section.
Spacing
- Padding top / Padding bottom: Control vertical spacing around the section.
Article Card Block Settings
Each Article card block manually pins a specific article to the grid. Use these when you want to curate the selection rather than display the most recent posts.- Article: Select the specific article to pin to this position in the grid.