How to Add the Section
- From your Shopify admin, go to Online Store → Themes and click Customize.
- Navigate to the page where you want to add this section.
- Click Add section and select Product strip.
- Select a collection and configure the display settings.
- Click Save.
Section Settings
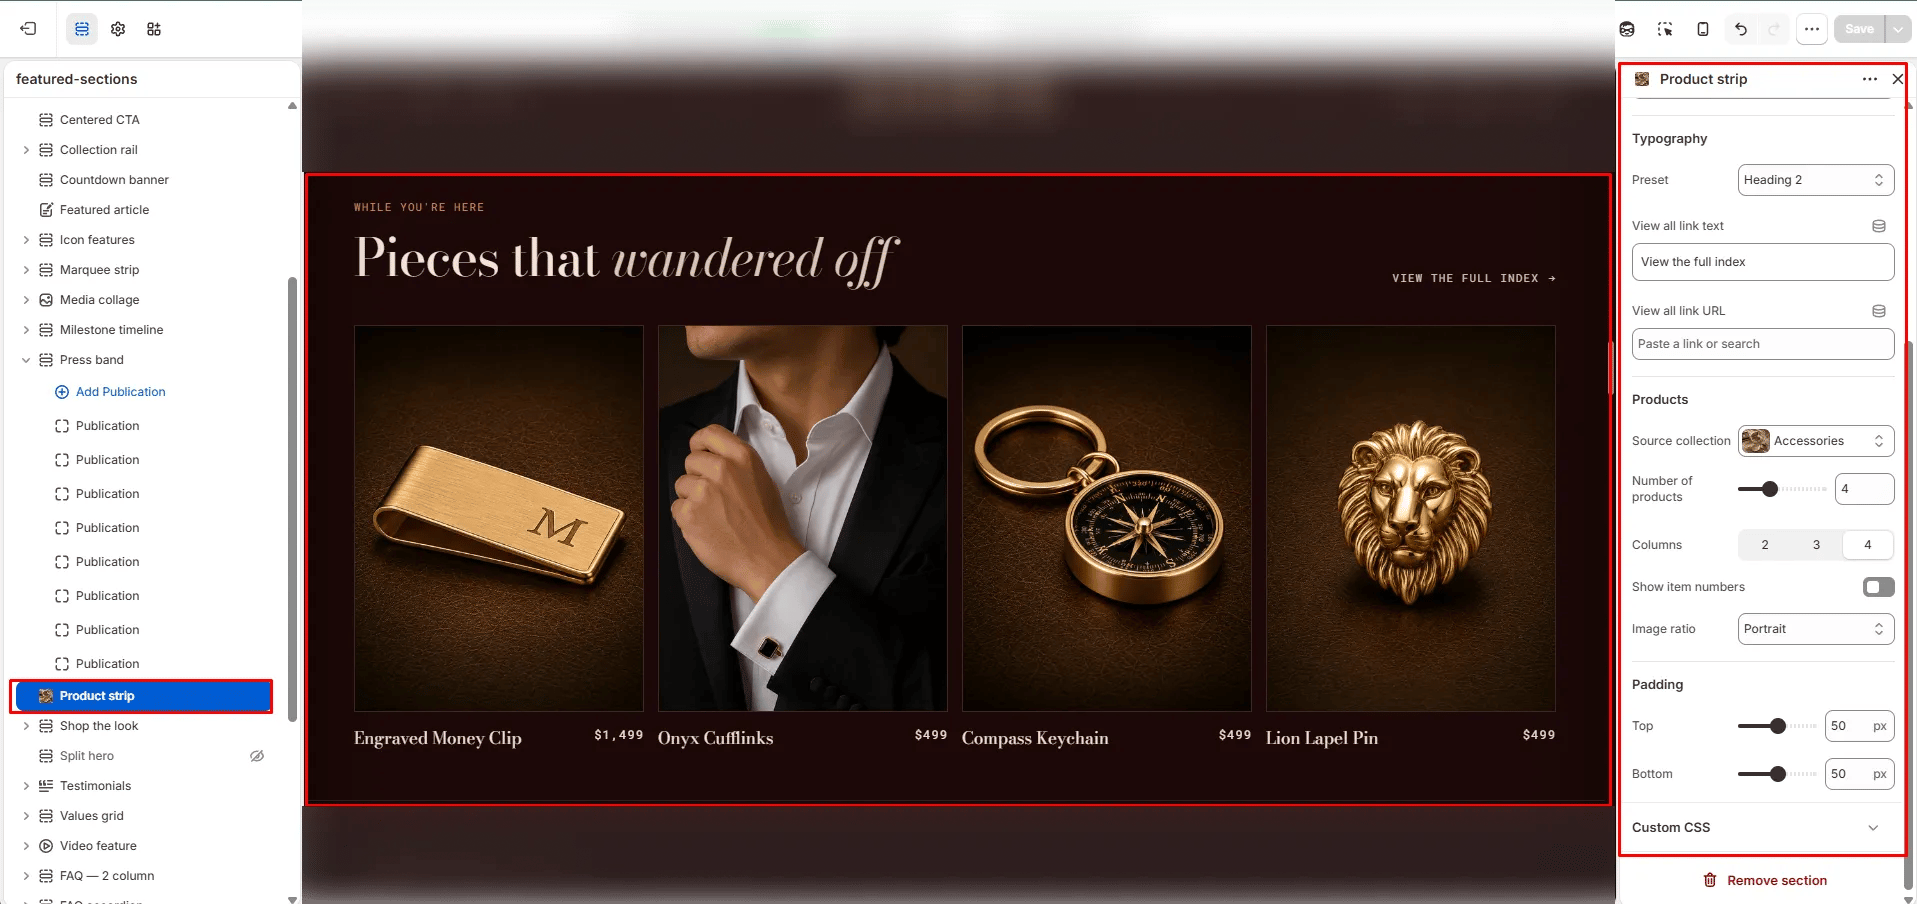
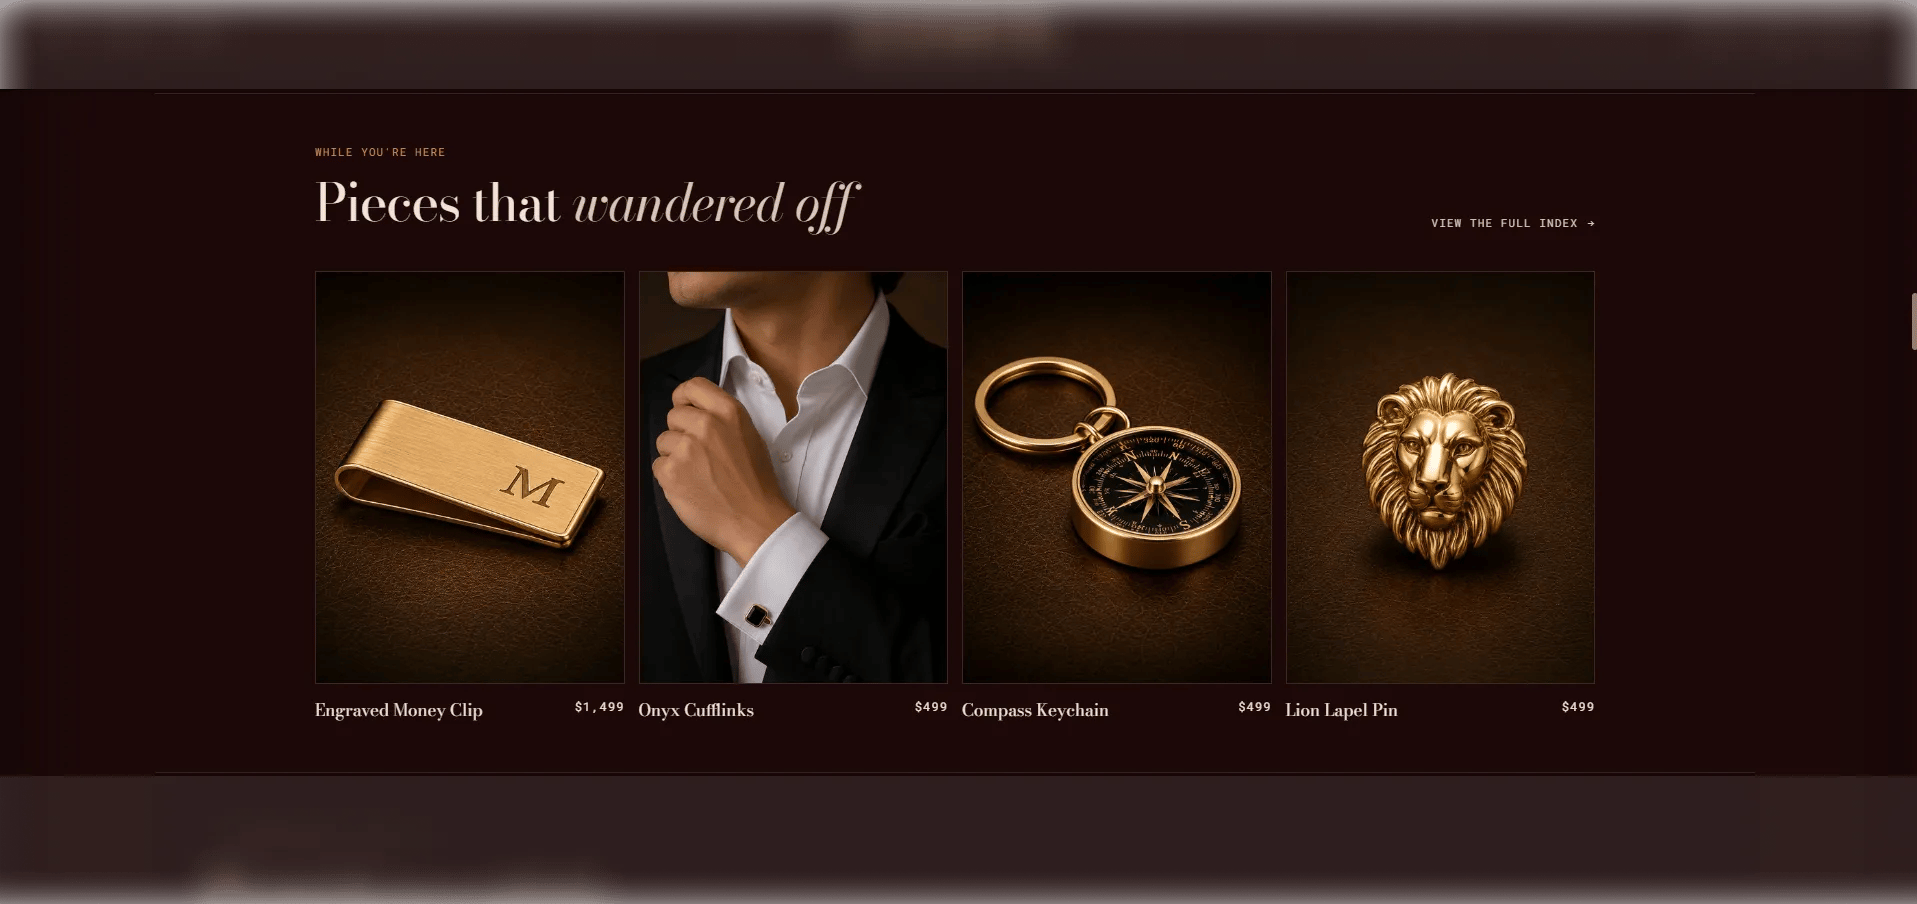
Content
- Eyebrow: Small label above the heading.
- Heading: Main heading text.
- Heading italic: An italic portion of the heading rendered in the italic type style.
- Heading typography: Select the typographic style. Includes a lede option for editorial-scale headings.
- View all text: Label for the view-all link.
- View all URL: The link destination for the view-all CTA.
Source & Display
- Full width: When enabled, the section stretches edge-to-edge.
- Collection: Select the Shopify collection to pull products from.
- Products to show: Number of products to display in the grid (range: 2–8).
- Columns: Number of columns on desktop (2, 3, or 4).
- Show item numbers: Toggle to display sequential numbers on each product card.
- Image ratio: Aspect ratio for product images — Portrait, Square, Landscape, or Adapt.
Spacing
- Padding top / Padding bottom: Control vertical spacing around the section.