How to Add the Section
- From your Shopify admin, go to Online Store → Themes and click Customize.
- Navigate to the page where you want to add this section.
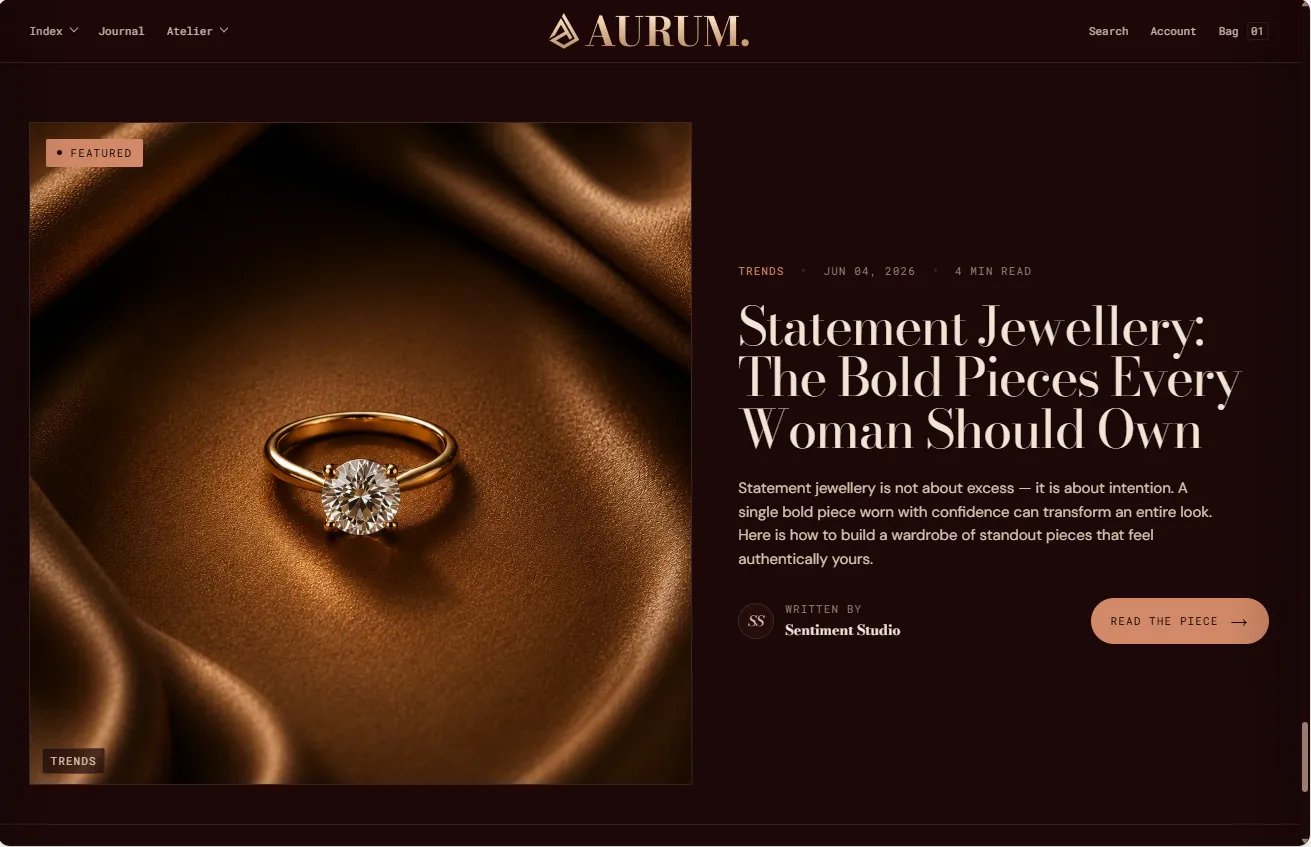
- Click Add section and select Featured article.
- Select an article or leave it blank to auto-display the most recent post.
- Click Save.
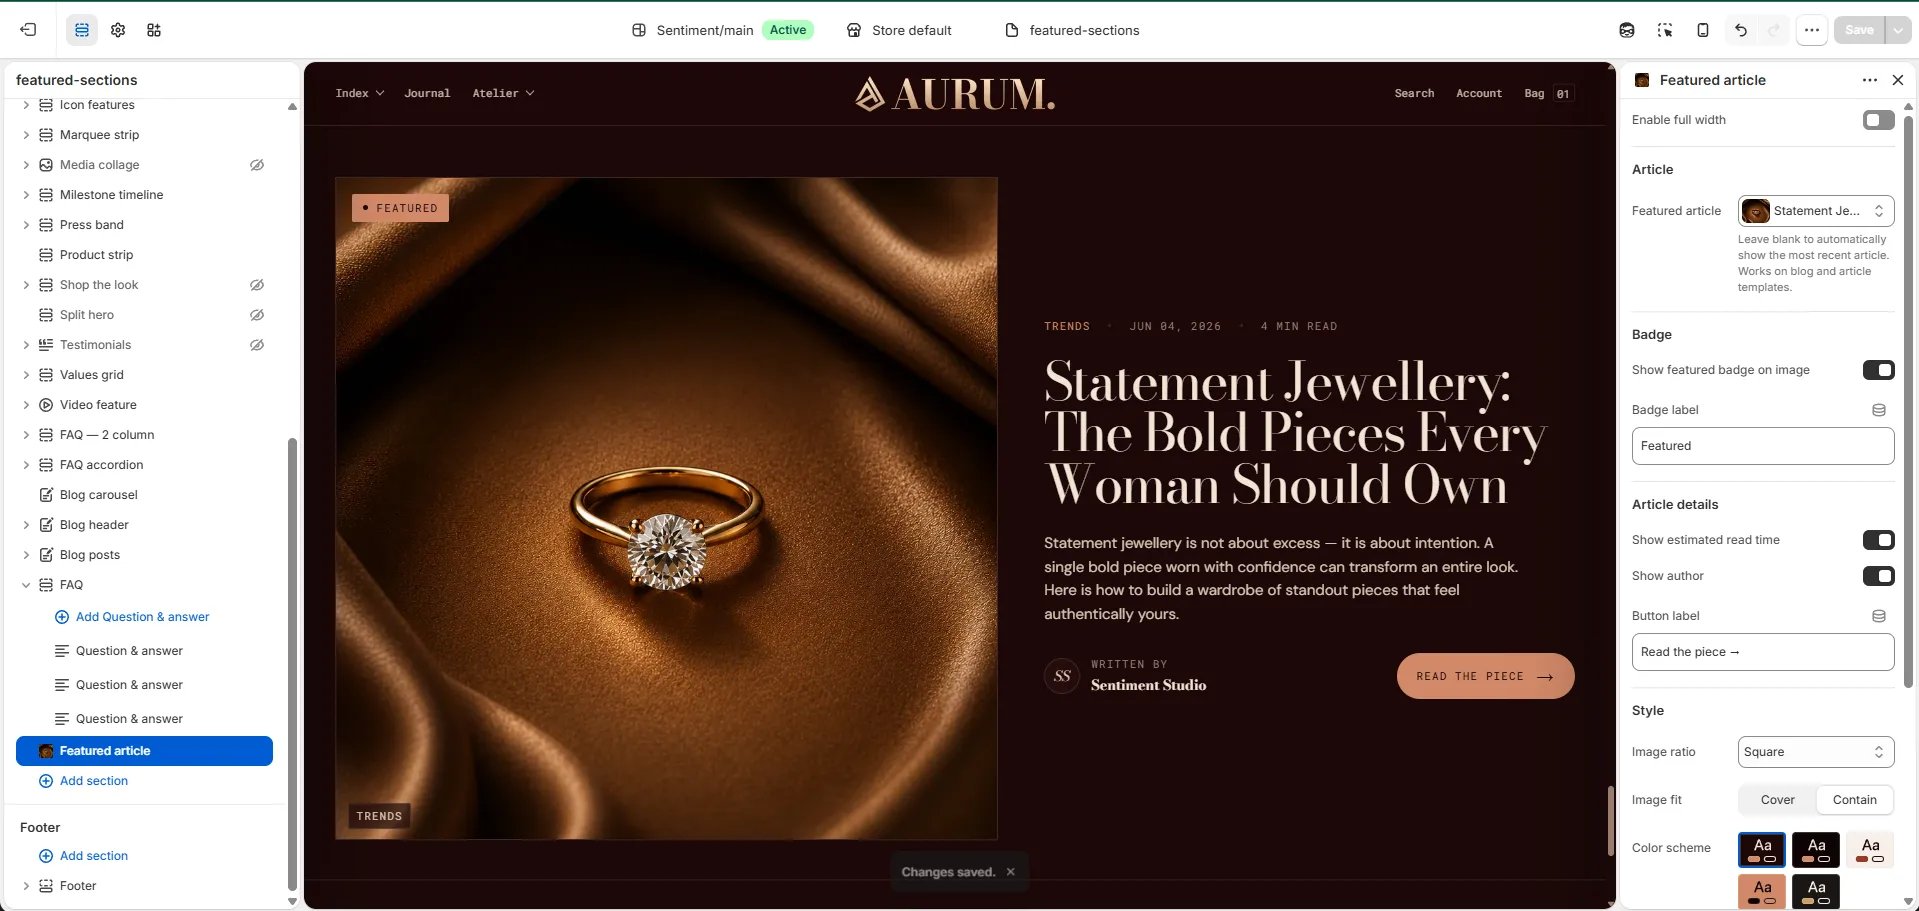
Section Settings
Source
- Featured article: Manually select the article to feature. Leave blank to automatically show the most recent article from your blog.
Content
- Show featured badge: Toggle to display a “Featured” badge on the article card.
- Featured label: The text shown inside the badge (default: “Featured”).
- Show read time: Toggle to display the estimated read time on the card.
- Show author: Toggle to display the article author’s name on the card.
- Button label: The label on the read CTA button (default: “Read the piece →”).
Image
- Image ratio: Aspect ratio for the article image — 16:11, Portrait, Square, Landscape, or Adapt.
- Image fit: Controls how the image fills its container — Cover (fills and crops) or Contain (shows the full image without cropping).
Style
- Full width: When enabled, the section stretches edge-to-edge.
- Color scheme: Choose a color scheme for the section.
Spacing
- Padding top / Padding bottom: Control vertical spacing around the section.