How to Add the Section
- From your Shopify admin, go to Online Store → Themes and click Customize.
- Navigate to the page where you want to add this section.
- Click Add section and select Countdown banner.
- Set your start and end datetimes in ISO 8601 format, fill in the content, and click Save.
Section Settings
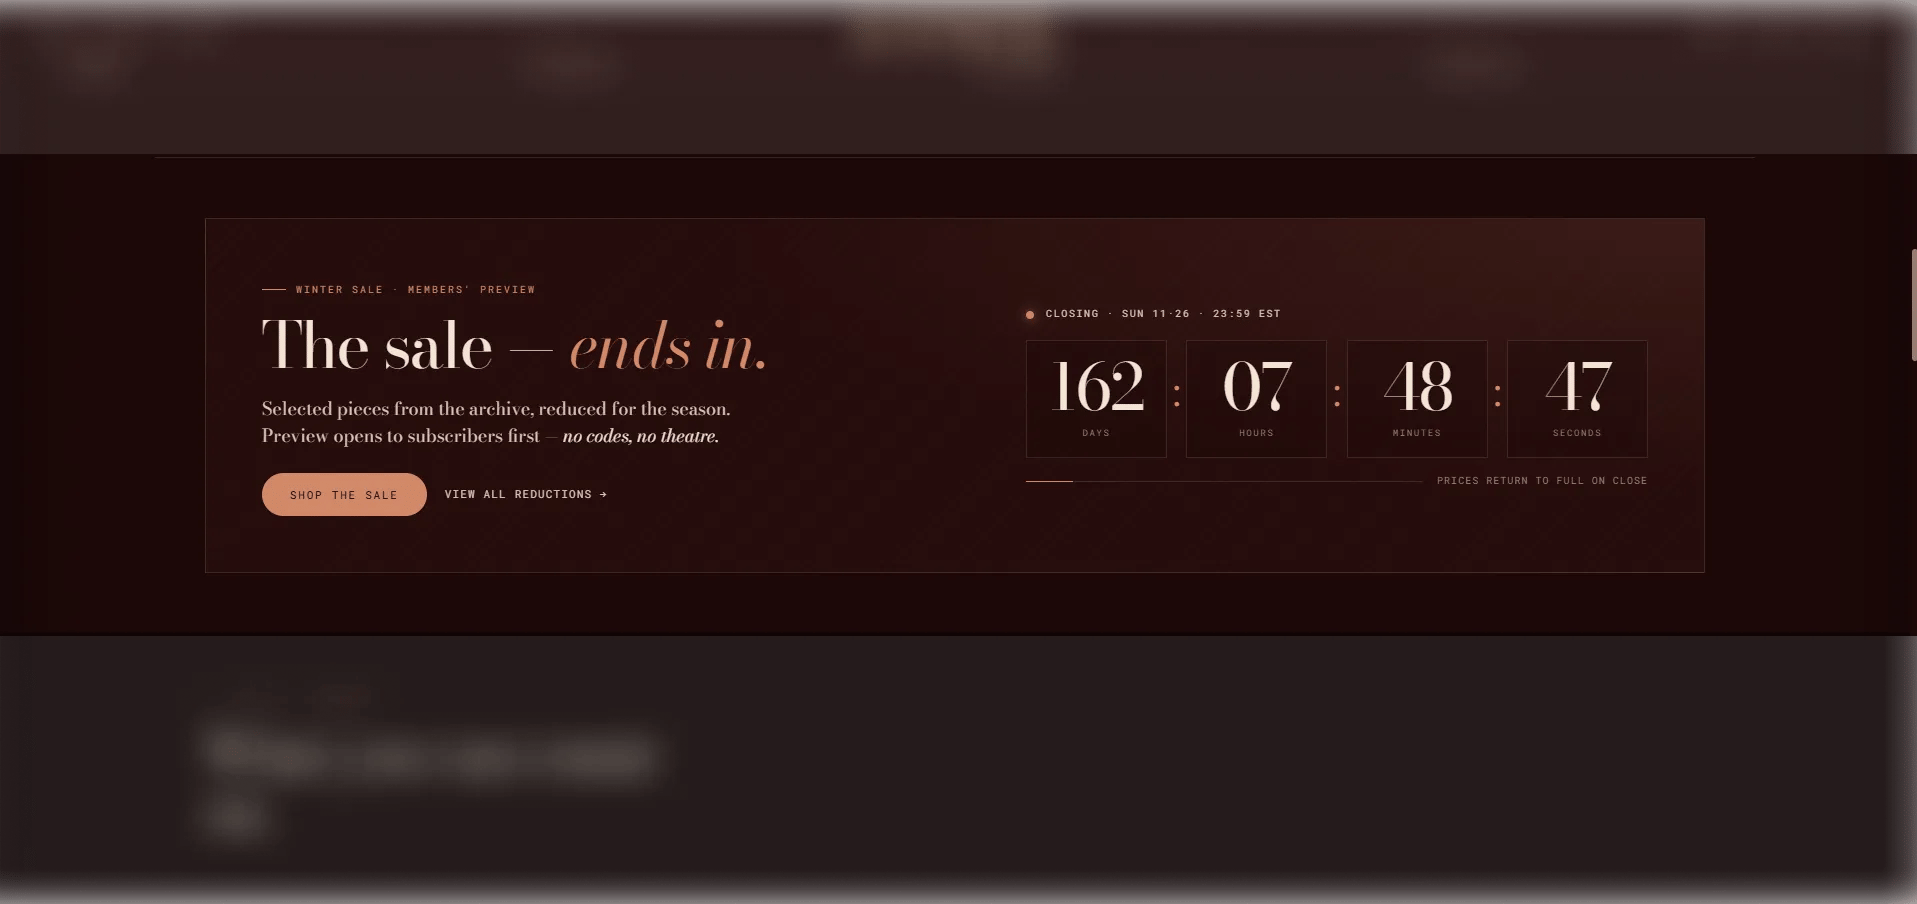
Content
- Eyebrow: Small label displayed above the heading.
- Heading: The main promotional headline. Supports rich text and italic emphasis.
- Body: Supporting body text. Supports rich text formatting.
- CTA text / URL: Inline primary call-to-action text and link destination.
- CTA link text / URL: Secondary CTA link text and destination.
Timer
- Start now: When enabled, the countdown starts immediately regardless of the start datetime — useful for testing or instant activation.
- Start datetime: The date and time when the countdown begins. Use ISO 8601 format (e.g.,
2026-06-01T09:00:00Z). - End datetime: The date and time when the countdown ends. Use ISO 8601 format (e.g.,
2026-06-07T23:59:59Z). - Label days / hours / minutes / seconds: Customize the unit labels shown beneath each timer digit.
- Timer aria label: An accessible label for the countdown timer, read by screen readers.
After Countdown
- Closing label: Text displayed when the countdown reaches zero (e.g., “The sale is live →”).
- Footer note: A small note displayed below the timer (e.g., terms or exclusions).
- Sale over text: Message shown after the event has fully ended.
Style
- Full width: When enabled, the section stretches edge-to-edge.
- Color scheme: Choose a color scheme for the section.
Spacing
- Padding top / Padding bottom: Control vertical spacing around the section.
