How to Add the Section
- From your Shopify admin, go to Online Store → Themes and click Customize.
- Navigate to the page where you want to add this section.
- Click Add section and select Image with text.
- Add Row blocks and configure each one. You can add up to 6 rows.
- Click Save.
Section Settings
- Full width: When enabled, the section stretches edge-to-edge across the viewport with no side margins.
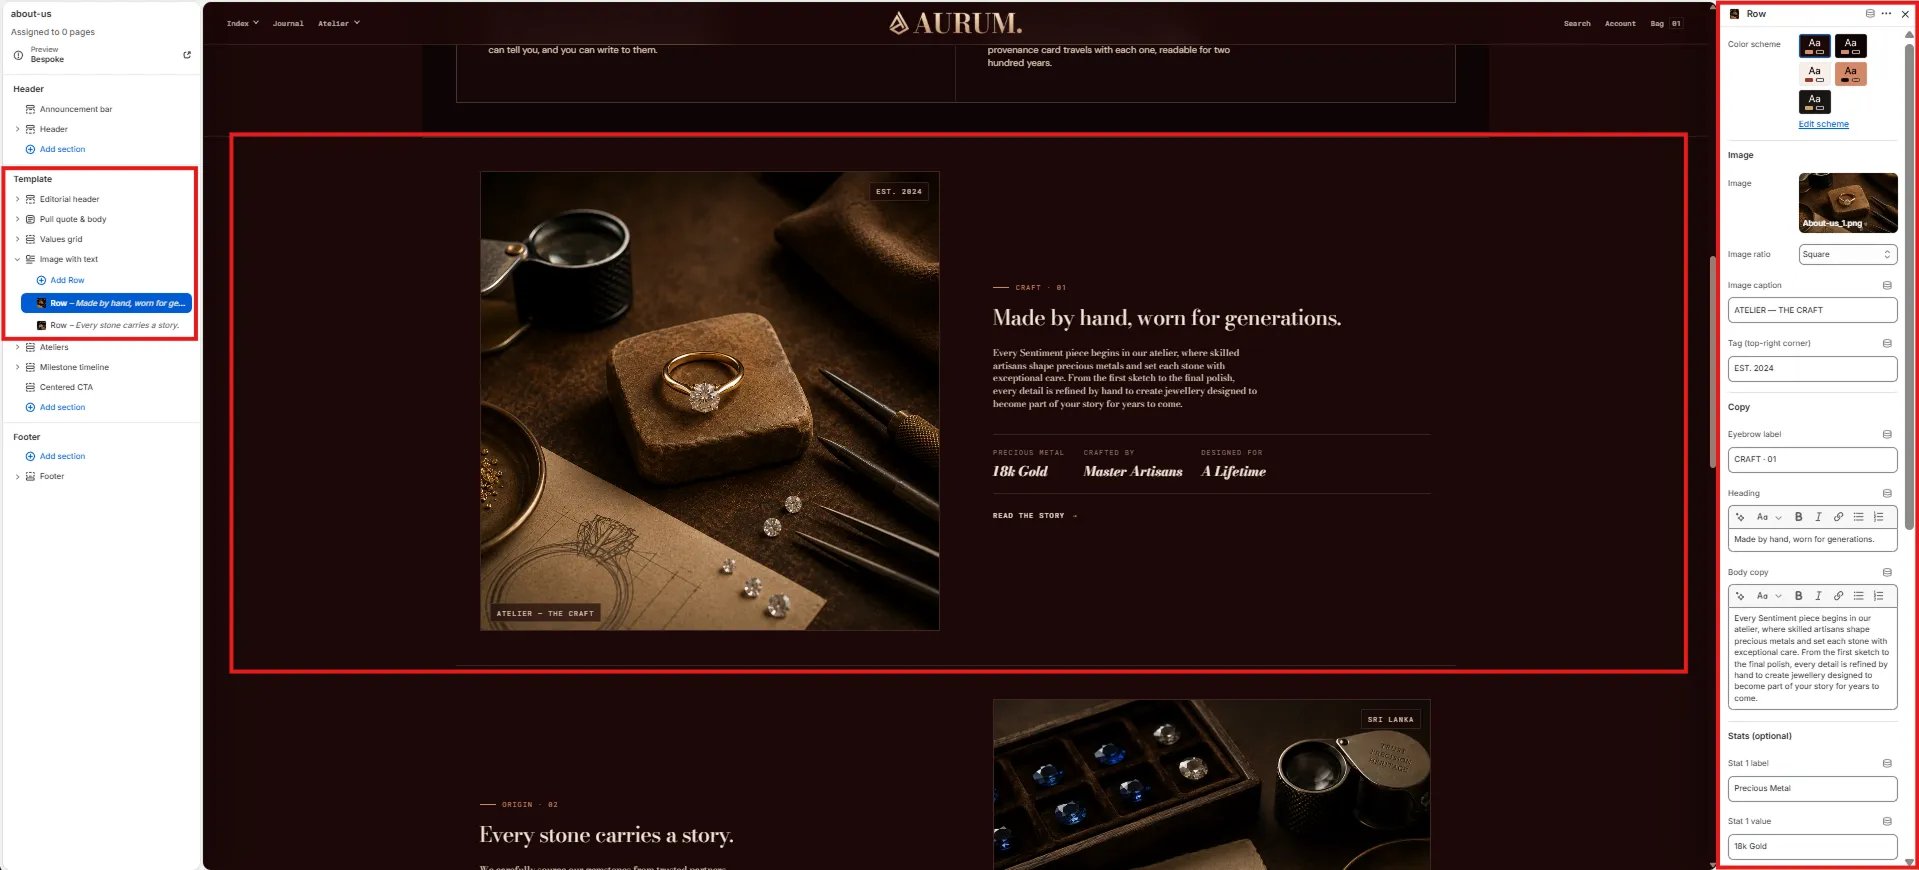
Row Block Settings
Each Row block is a complete image-text pair. Add one block per row. You can add up to 6 rows.Style
- Color scheme: Set a color scheme for this individual row — allowing different rows to have different background colors.
Image
- Image: Upload the image to display for this row.
- Image ratio: Control the proportions of the image — Portrait, Square, Landscape, or Adapt to the original dimensions.
- Caption: A small text label displayed over the image.
Content
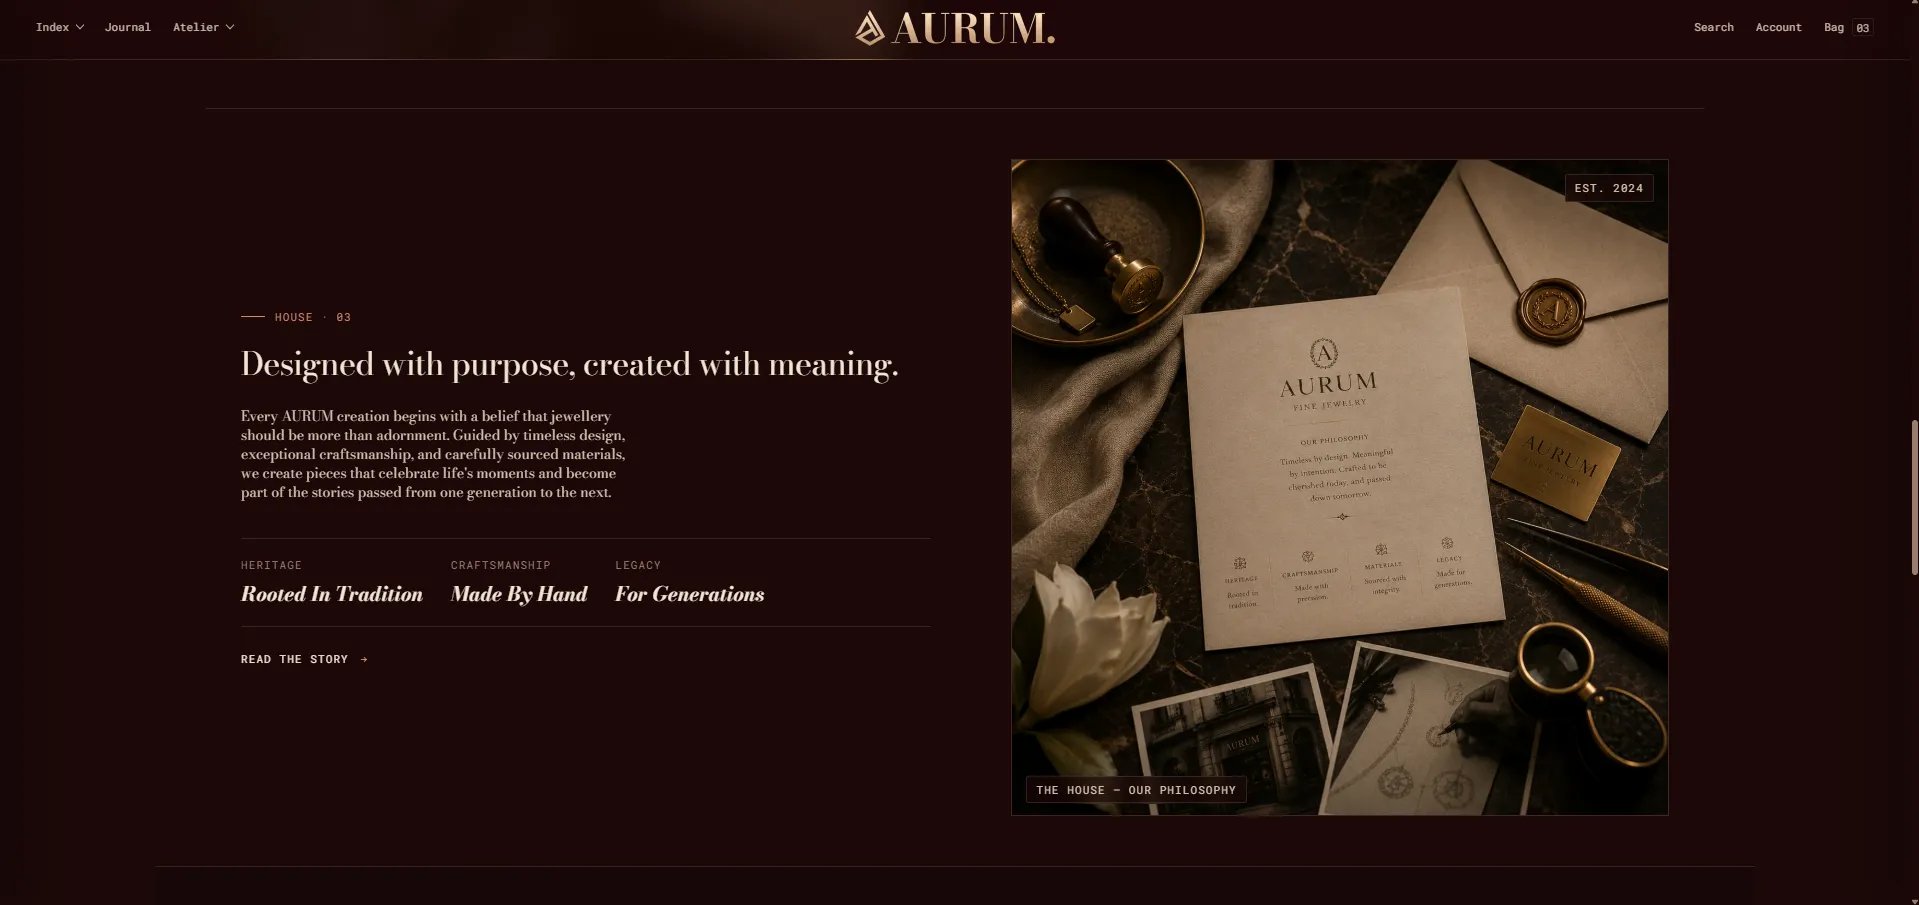
- Row tag: A tag or category label for the row (e.g., “Edit · 01”).
- Eyebrow: Small text displayed above the heading.
- Heading: The main heading for this row. Supports rich text and italic emphasis.
- Body: The main body copy. Supports rich text formatting.
- Stat 1 / 2 / 3 — Label & Value: Up to three key-value stat pairs displayed below the body text (e.g., “Materials / 18k Au”, “Pieces / 24”).
- CTA text / CTA URL: A call-to-action button label and its link destination.
Layout
- Flip layout: When enabled, the image appears on the right and the text on the left — use this on alternating rows to create a zigzag composition.
Spacing
- Padding top / Padding bottom: Control the vertical spacing for this individual row independently of others.