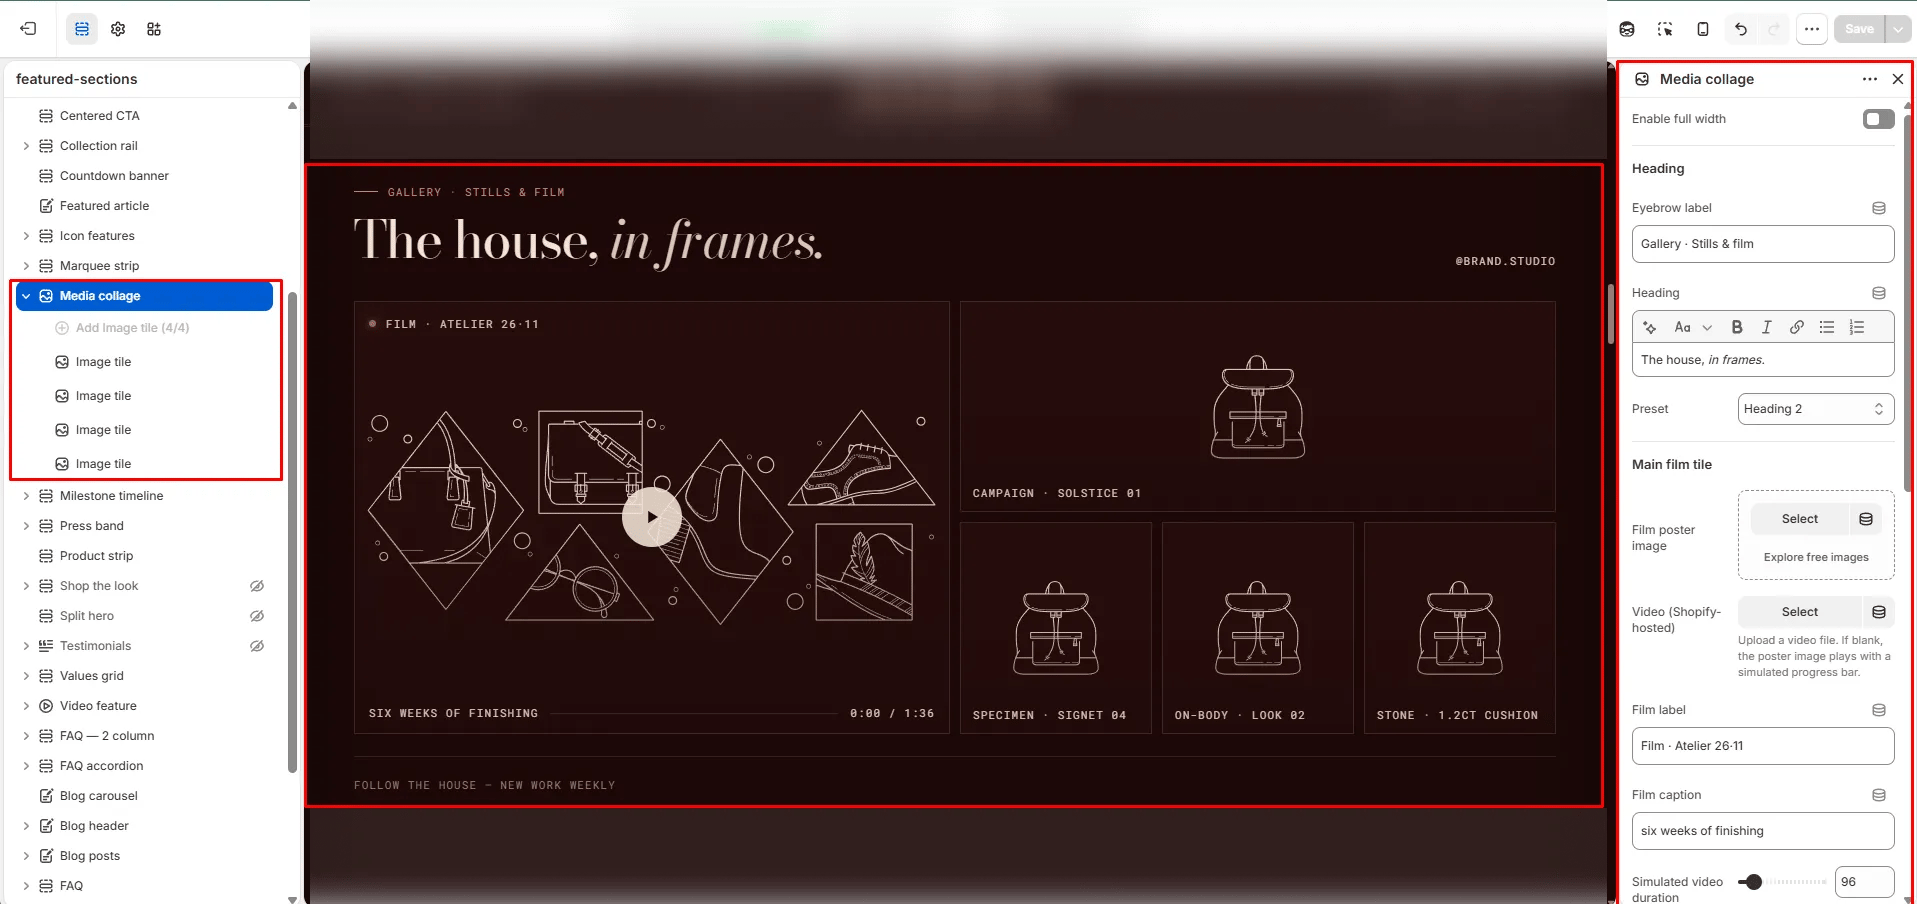
How to Add the Section
- From your Shopify admin, go to Online Store → Themes and click Customize.
- Navigate to the page where you want to add this section.
- Click Add section and select Media collage.
- Upload a poster image and video, then add Image blocks for the collage tiles on the right.
- Click Save.
Section Settings
Content
- Full width: When enabled, the section stretches edge-to-edge across the viewport.
- Eyebrow: Small label above the heading.
- Heading: Main section heading. Supports rich text and italic emphasis.
- Heading typography: Select the typographic style for the heading.
Video Tile
- Film image: Upload a poster or cover image displayed before the video plays and as a fallback.
- Video: Upload a Shopify-hosted video for the main film tile. Falls back to the poster image if no video is uploaded.
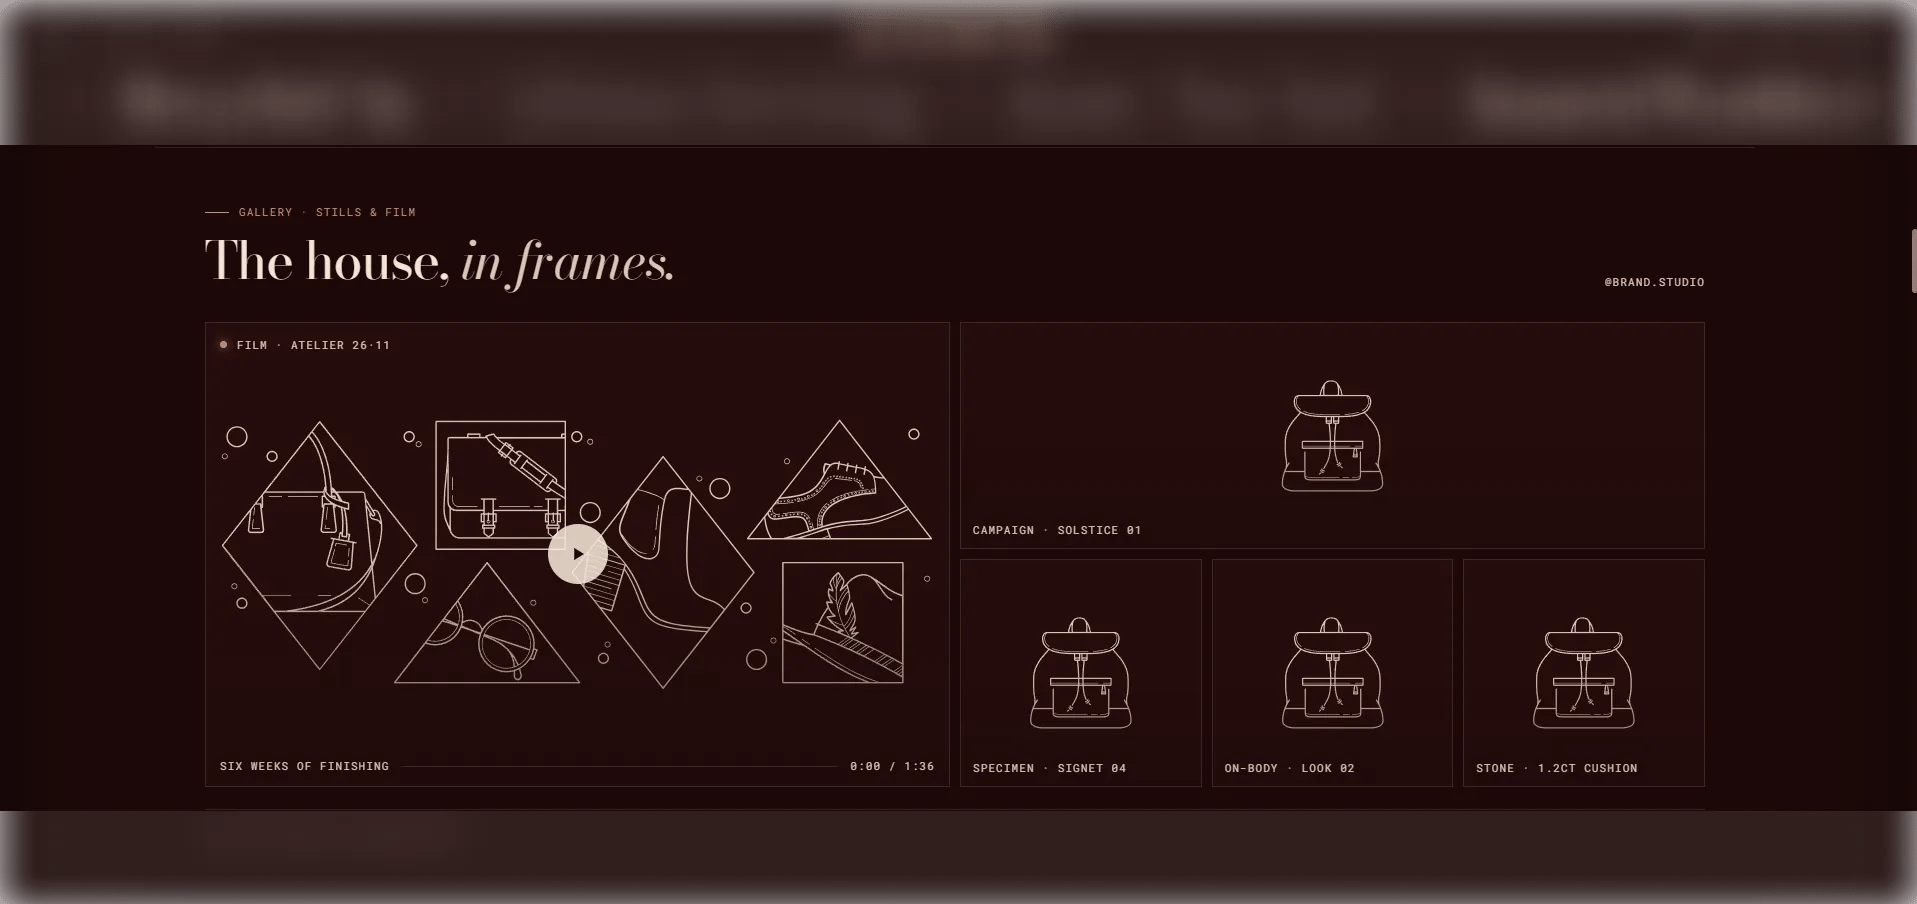
- Film label: A label overlaid on the video tile (e.g., “Film · Atelier 26·11”).
- Film caption: A secondary caption line below the film label.
- Video duration: The duration of the video in seconds, used to drive the progress bar animation (range: 30–600s).
Social & Footer
- Social handle: Your social media handle displayed below the collage (e.g., “@brand.studio”).
- Social URL: The link for the social handle.
- Footer label: A text label displayed below the collage grid (e.g., “Follow the house — new work weekly”).
- Follow label: The label on the social follow link.
Style
- Color scheme: Choose a color scheme for the section.
Spacing
- Padding top / Padding bottom: Control vertical spacing around the section.
Image Block Settings
Each Image block adds one tile to the right-side collage grid. You can add up to 4 image tiles.- Image: Upload the image for this collage tile.
- Caption: A small caption displayed on the image tile (e.g., “campaign · edit 01”).