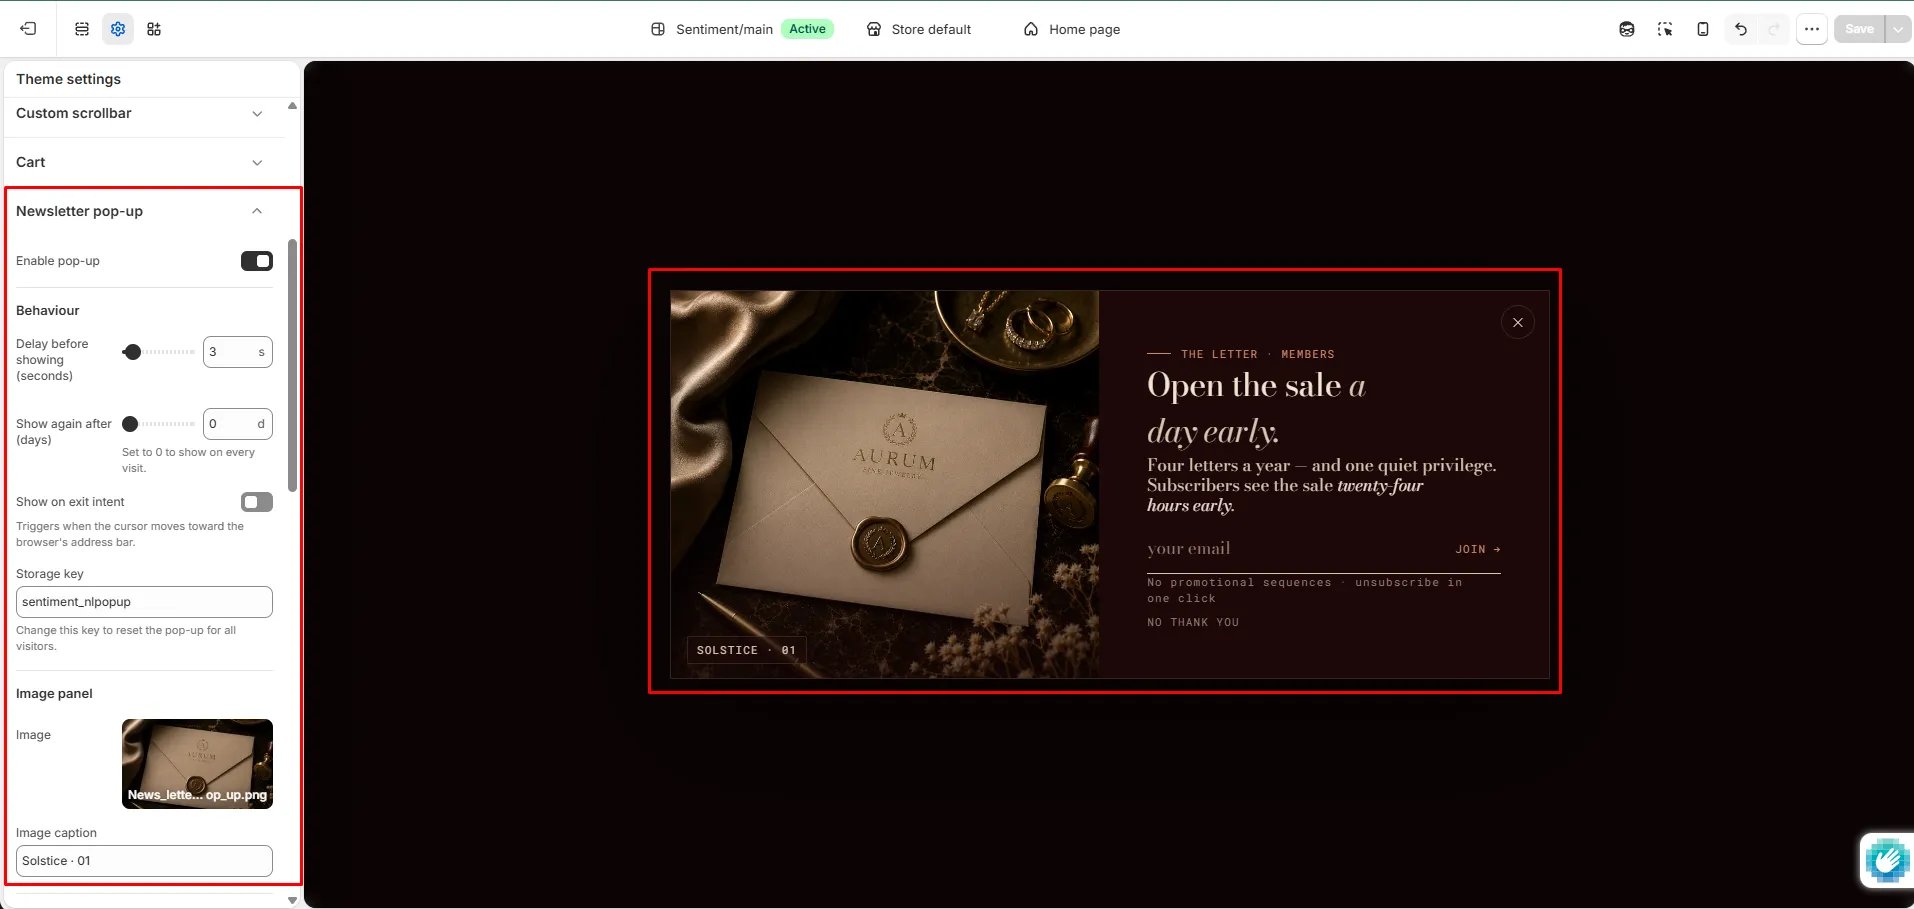
How to Configure the Newsletter Popup
- From your Shopify admin, go to Online Store → Themes and click Customize.
- Click the Theme settings icon (gear icon) in the left sidebar.
- Select Newsletter pop-up from the settings list.
- Configure the behaviour, content, and style settings.
- Click Save.
Settings
- Enable pop-up: Toggle to activate or deactivate the newsletter popup across the entire storefront.
Behaviour
- Delay before showing: Number of seconds after page load before the popup appears.
- Show again after (days): Number of days before the popup is shown again to a returning visitor. Set to 0 to show on every visit.
- Show on exit intent: When enabled, the popup triggers as the customer moves their cursor toward the browser address bar.
- Storage key: The key used to track whether a visitor has already seen the popup. Change this key to reset the popup for all visitors.
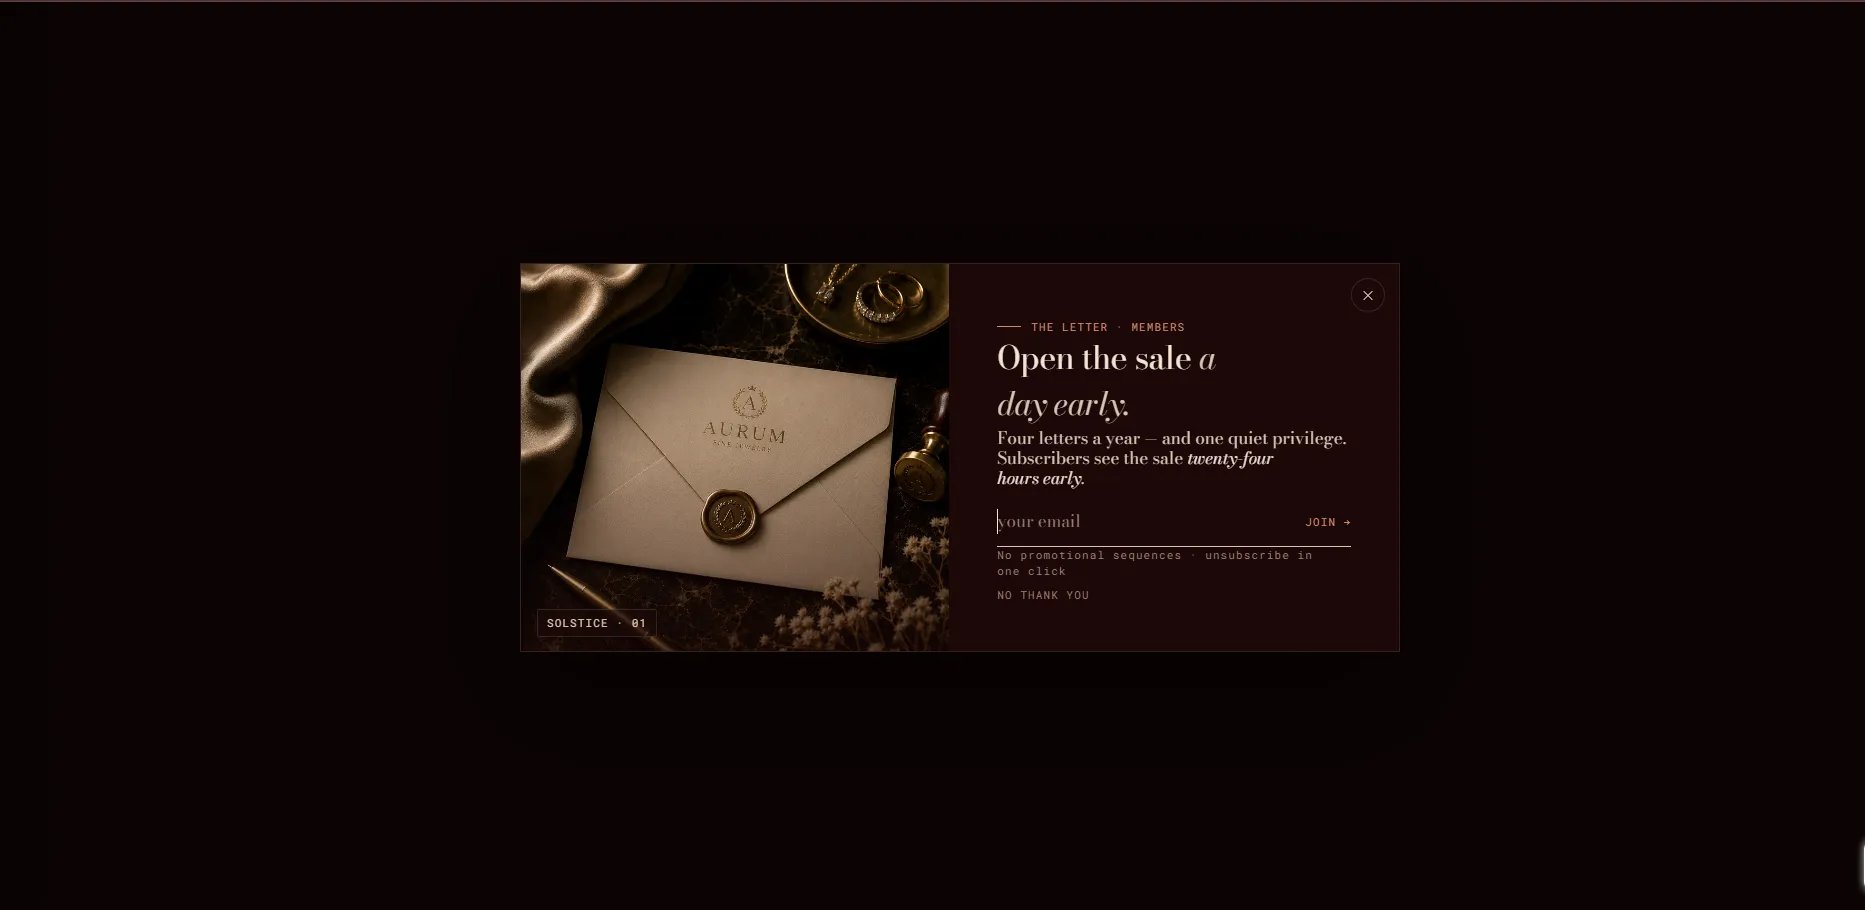
Image panel
- Image: Upload a branded image displayed alongside the signup form.
- Image caption: A short caption displayed below the image.
Content
- Eyebrow label: A small label above the heading.
- Heading: Main popup heading. Supports rich text formatting.
- Body text: Supporting copy. Supports rich text formatting.
- Email placeholder: Placeholder text inside the email input field.
- Submit button text: Label on the form’s submit button.
- Disclaimer text: Small privacy or unsubscribe note below the form.
- Decline link text: Label on the link customers can click to dismiss the popup without subscribing.
Success state
- Success heading: Heading shown after a successful subscription.
- Success body text: Message shown on the success screen.
- Success CTA text: Label on the button that dismisses the success screen.
Style
- Color scheme: Choose from your store’s defined color schemes to control the popup’s appearance.