How to Configure the Blog Post Page
- From your Shopify admin, go to Online Store → Themes and click Customize.
- From the top page dropdown, select Blogs → Default blog post (or navigate to any specific article).
- Click Article or Newsletter in the left sidebar under Template to configure each section.
- Click Save when done.
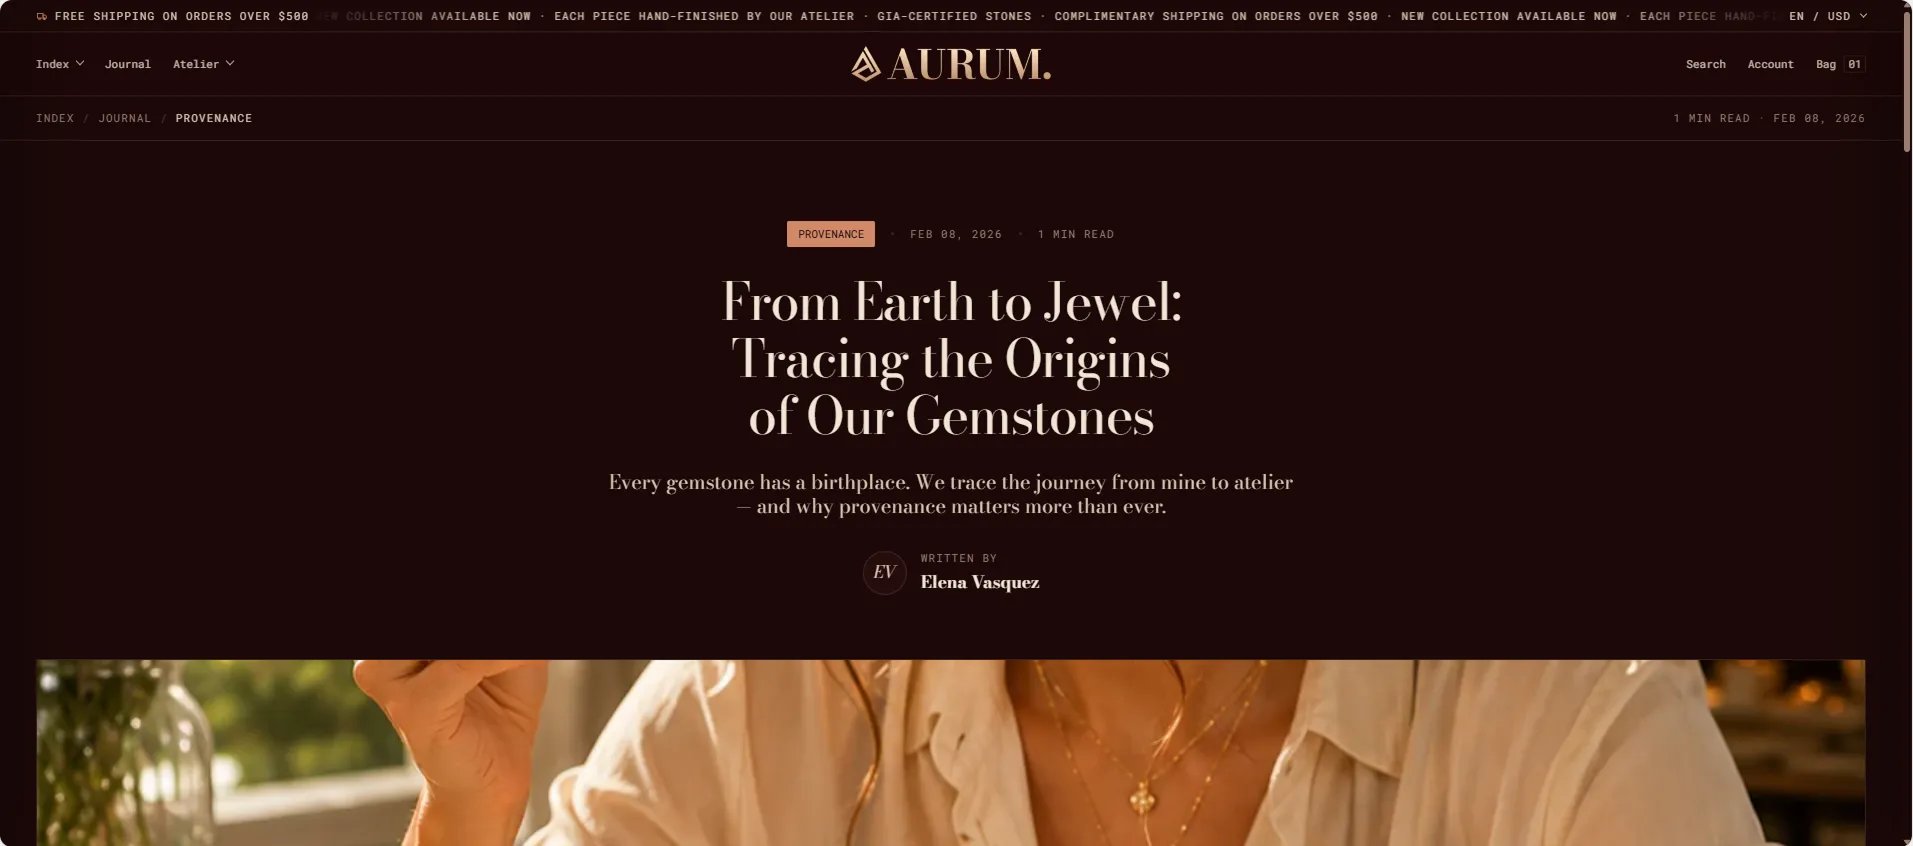
- Article — renders the full article with hero image, body, sharing, comments, and related posts
- Newsletter — email signup displayed at the bottom of every post
Article Section Settings
The Article section controls every aspect of how each individual blog post is displayed — from the hero image and reading progress bar to the table of contents, comments, and related article grid.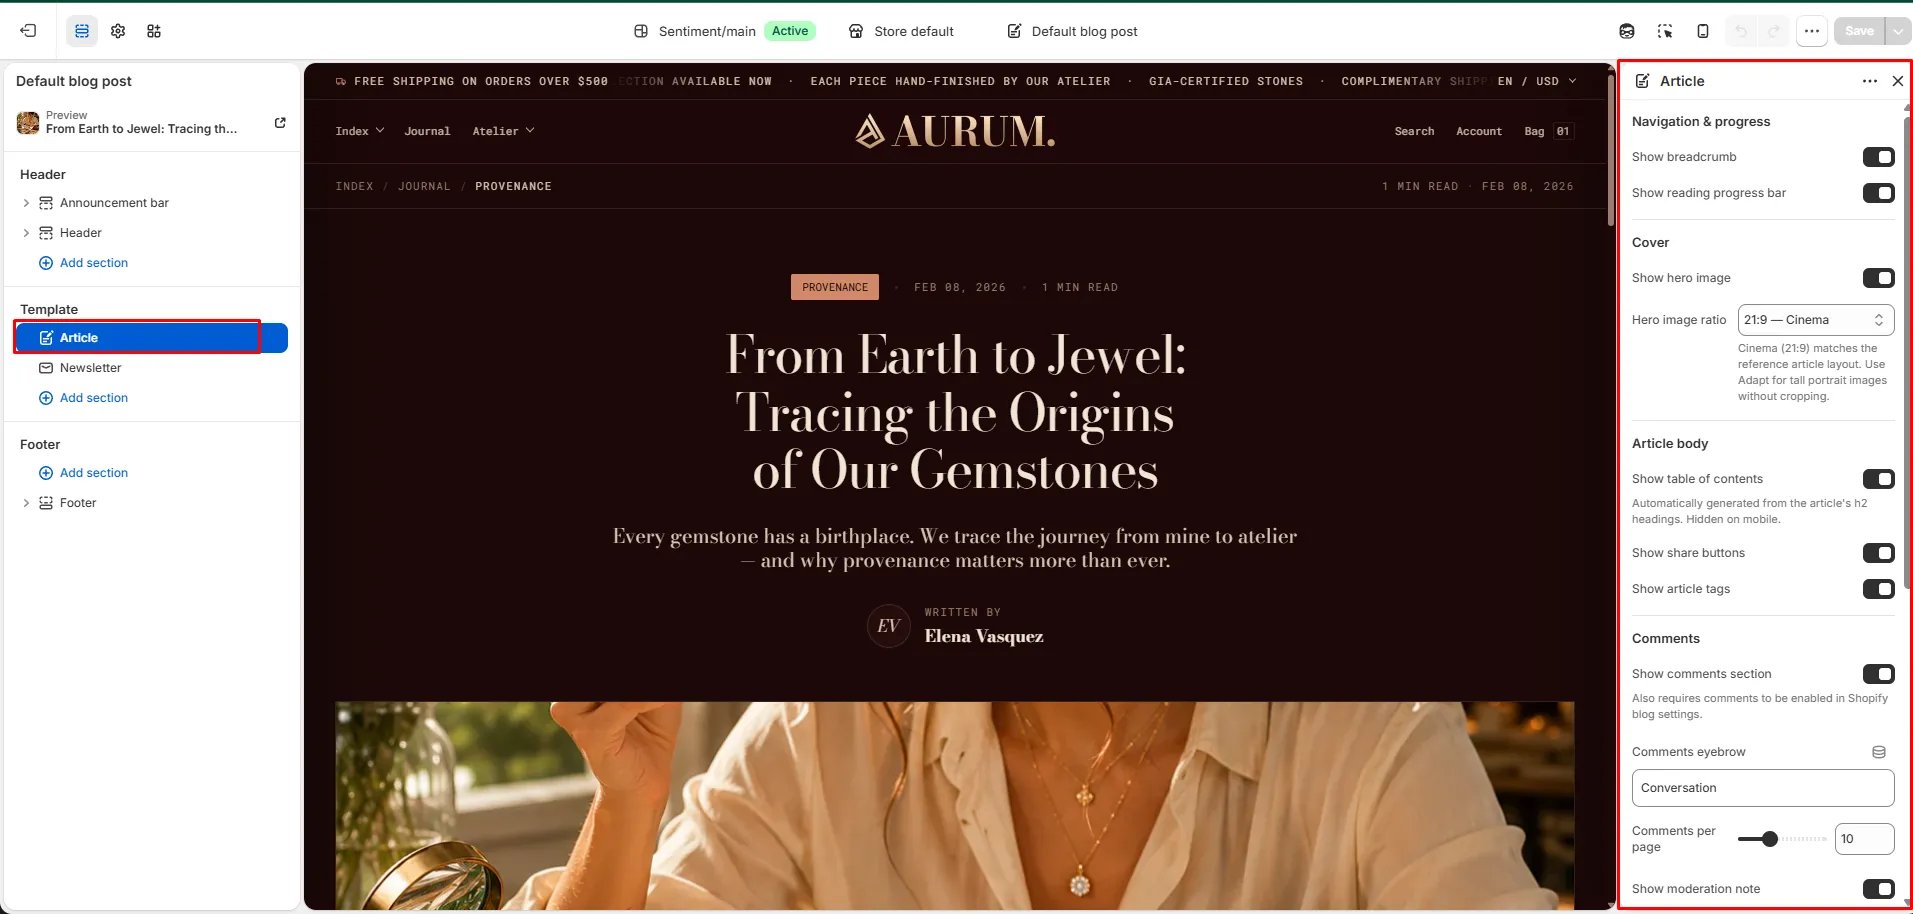
Reading Experience
- Show reading progress: When enabled, a thin progress bar appears at the top of the browser window indicating how far the reader has scrolled through the article.
- Show hero image: Toggle to show or hide the article’s featured image at the top of the post.
- Hero image ratio: Sets the aspect ratio of the hero image — Adapt (original), Cinema (21:9), Wide, or Landscape.
- Show table of contents: Automatically generates a floating table of contents from all H2 headings in the article body.
Sharing & Tags
- Show share: Displays social sharing links below the article body.
- Show tags: Displays the article’s tags as clickable chips for related content discovery.
Comments
- Show comments: Renders the Shopify comments section below the article. Requires blog comments to be enabled in Shopify Admin → Content → Blogs.
- Comments eyebrow: Small label above the comments section heading.
- Comments per page: Number of comments shown per page (range: 5–20).
- Show moderation note: Displays a notice that new comments are held for moderation before appearing publicly.
Related Content
- Show related articles: Displays a grid of related articles at the bottom of the page.
- Related count: Number of related articles to show (range: 1–4).
- Show previous / next: Displays navigation links to the previous and next article in the blog. Works for blogs with up to 50 articles.
Style
- Color scheme: Choose a color scheme for the article section.
Newsletter Section Settings
The Newsletter section appears at the bottom of every blog post as a full-width email signup, giving readers an easy way to subscribe after finishing an article.- Heading: Heading above the signup form (e.g., “Stay in the loop”).
- Subtext: Supporting text below the heading.
- Email placeholder: Placeholder text inside the email field.
- Submit text: Label on the submit button.
- Success text: Message shown after a successful subscription.
- Color scheme: Choose a color scheme for the newsletter section.
- Padding top / Padding bottom: Control vertical spacing.
